Planning your family’s vacation to Disney World can be exciting, but also overwhelming. There are so many decisions to make—where do you even start? Let me break it down for you step by step.
Step 1
Choose your vacation dates.

The first step you need to take when planning your family’s first trip to Disney World is picking the dates you will be traveling. Maybe you have a specific time in mind due to school schedules and holidays. Maybe your schedule is wide open and you just want to go when there are lower crowds and/or prices. Either way, you need dates before you can move on to the next steps.
Step 2
The second step you need to take is choosing whether to stay off-site or on-site at Disney World. In most cases, especially right now in Spring of 2025, staying on-site will actually reap you more benefits and be more affordable in the long run than staying off-site.
When you stay on-site at Disney World, you receive perks such as Early Entry to the theme parks, free parking at the resort and the parks, a complimentary ticket to the water park on arrival day (being offered through 2026), and other available promotions (my favorite right now is the FREE kids’ dining plan with the purchase of an adult plan, also running through 2026).
The only time that I’ve found staying off-site to be more lucrative is if you are someone who utilizes credit card points or rewards for other hotels OR you’re traveling in a very large party (say six or more) with multiple families and can split the cost of a large Airbnb or VRBO. When staying off-site, you’ll want to factor in rental car expenses, resort fees, and parking fees at the hotel and theme parks.

Step 3
The third step will be choosing your actual resort. Let’s say for this you’ve chosen to stay on-site. Now you will need to choose a resort at Disney World in the Value, Moderate, or Deluxe category of hotels. Each of these has pros and cons, so let’s break it down:
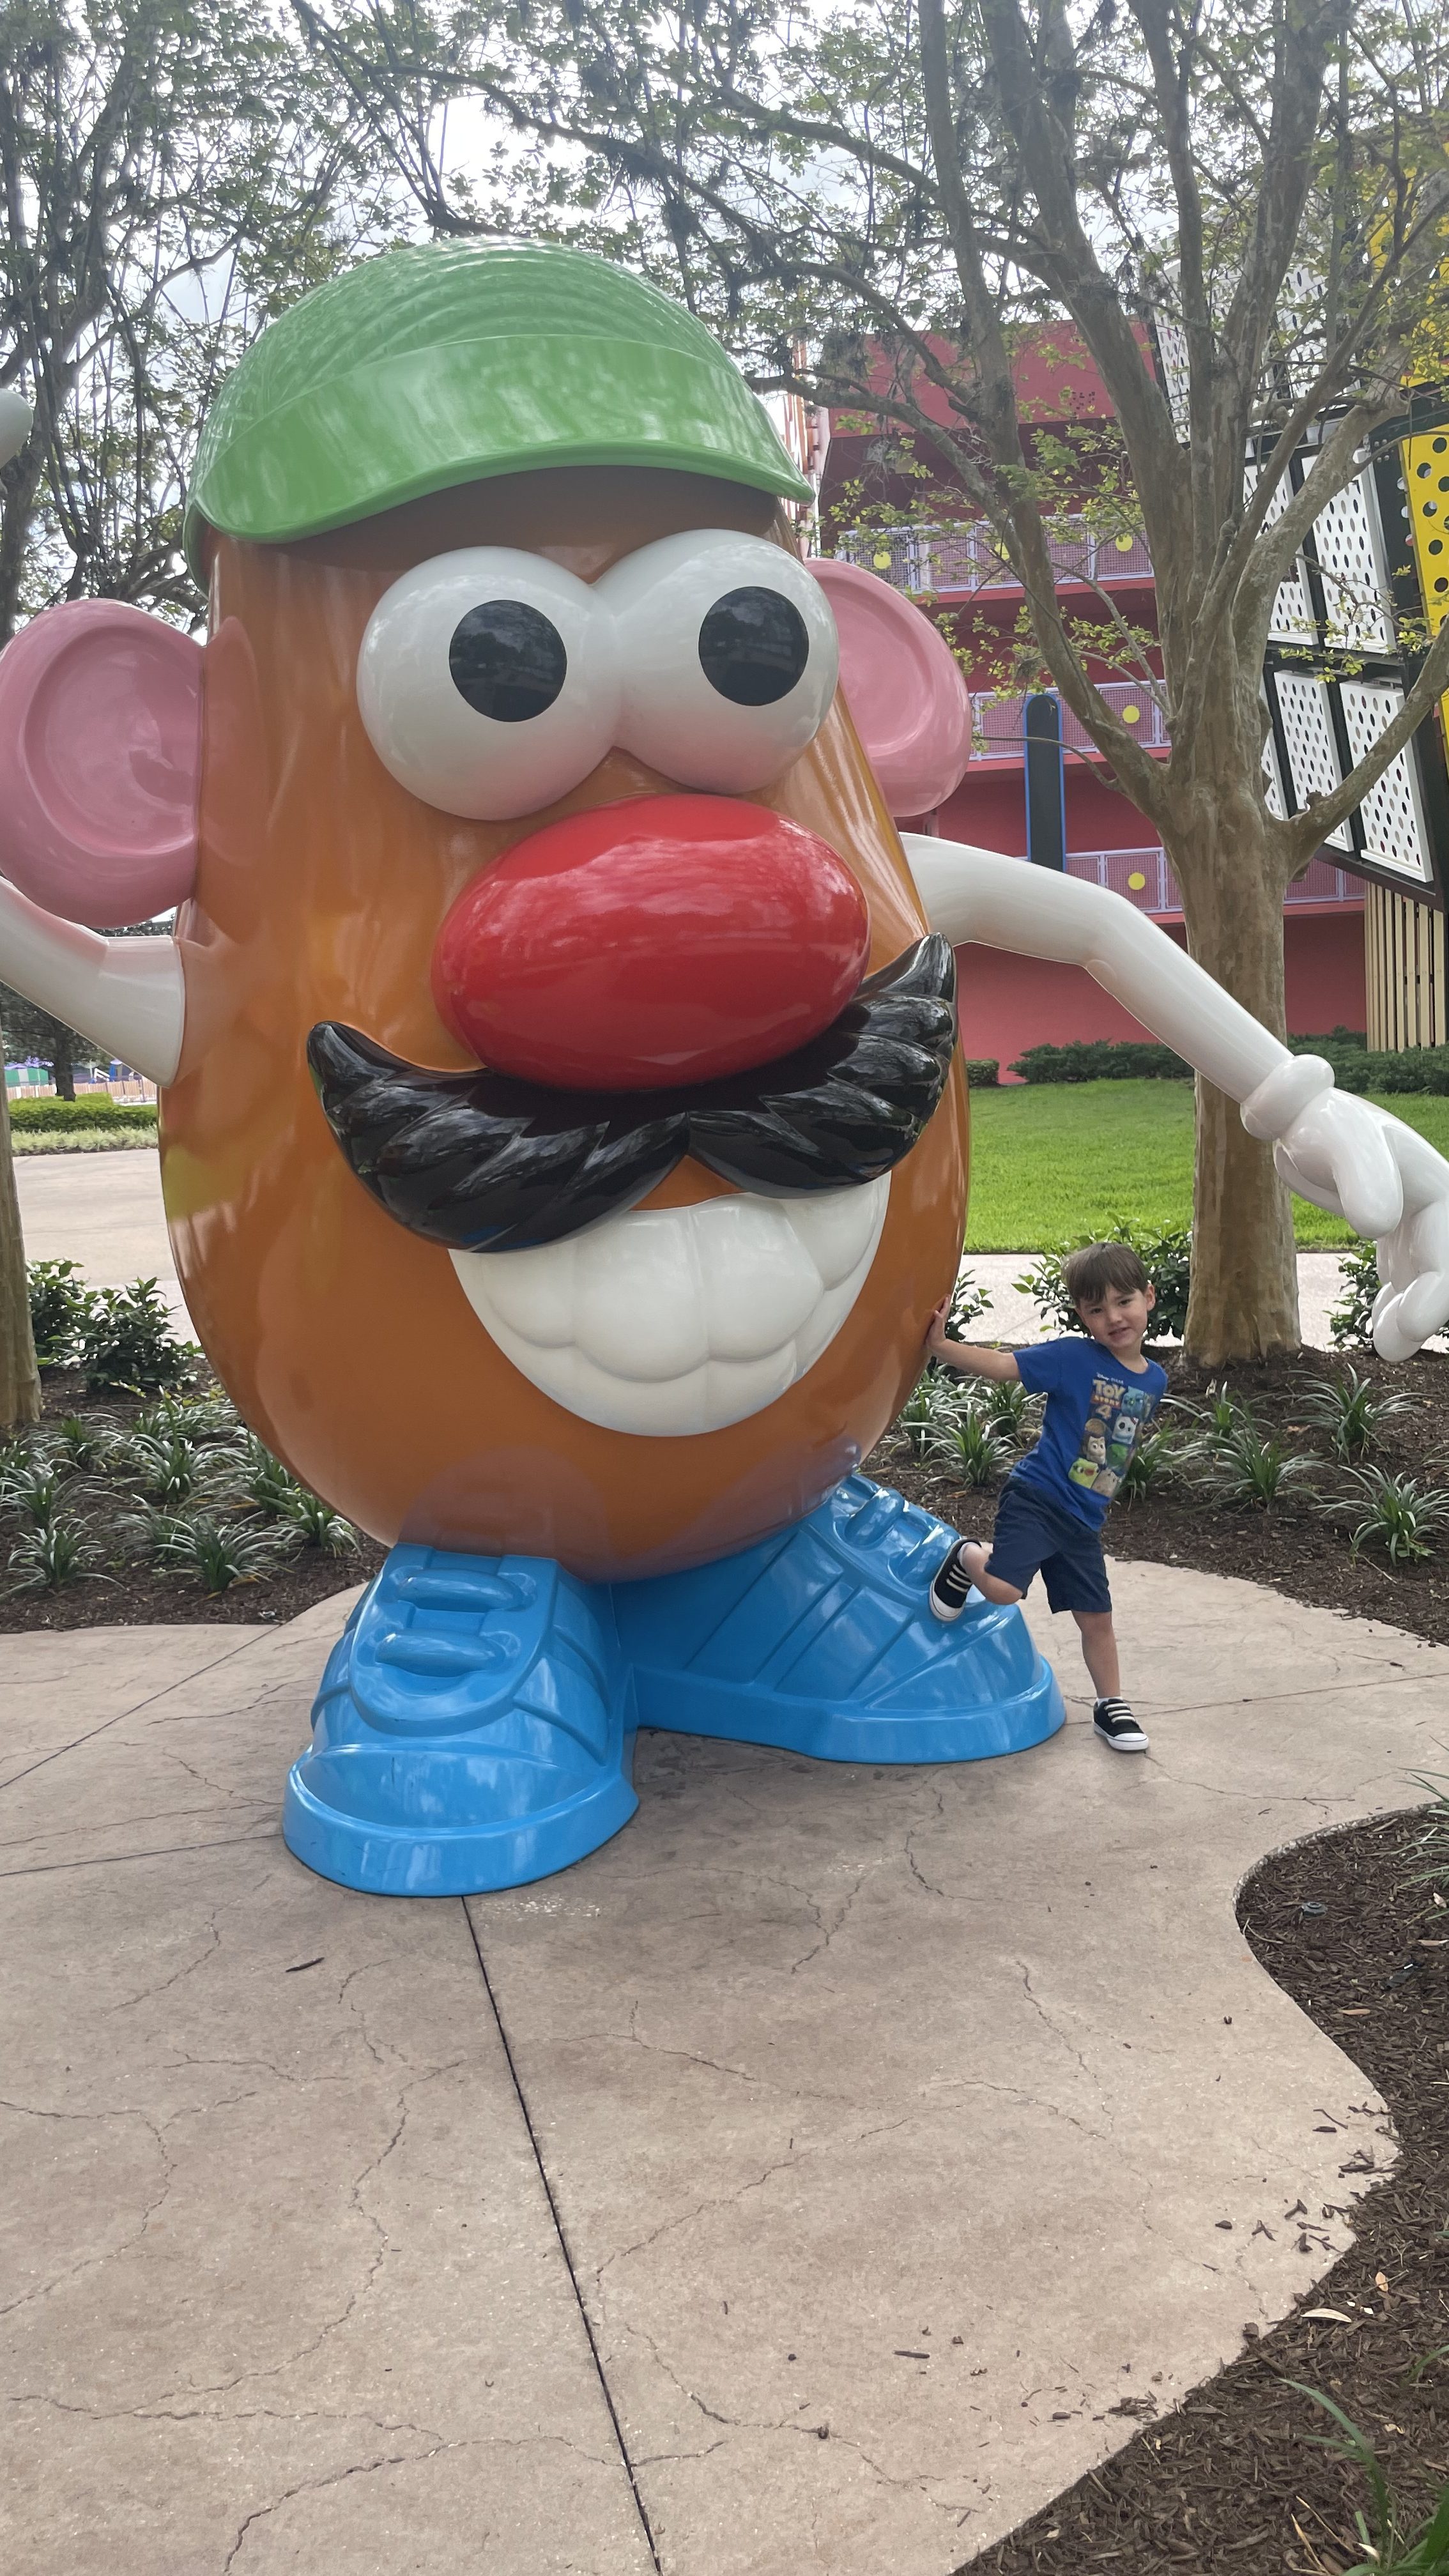
Value resorts are the most affordable by far and they can work very well if you have a family that plans to spend most of your time in the parks anyway. This is us on most occasions. Value resorts still have many amenities but will be missing extras like water slides, multiple dining locations, and prime locations to the theme parks. If I were picking a Value resort, I would opt for Pop Century or Art of Animation mainly because of their access to Disney’s Skyliner, which is the best transportation on property in my opinion. You can easily get to Hollywood Studios and EPCOT from these resorts.
Moderate resorts have a few more amenities and some can even feel like a Deluxe resort (looking at you Gran Destino Tower at Coronado). They typically have an additional dining location and are designed less “in your face” Disney with more stylish themed touches. These resorts can be more sprawling making them more difficult to get around and all have bus transportation to the parks with the exception of Caribbean Beach which accesses the Skyliner.
Deluxe resorts have the most amenities. These resorts are in prime locations many of which are situated on the Monorail line making travel to Magic Kingdom and EPCOT a breeze. The deluxe resorts also have many top tier dining locations and multiple pools. It would be easy to take up time for a rest day or two at any of the Deluxe resorts.
Step 4
The fourth step will be picking how many park days you want to have and what ticket type you will need. For a first time guest I always suggest doing one park per day. Disney World is massive and getting from park to park can be difficult and time consuming so first time guests may be overwhelmed by this endeavor. If you can spend one day at each park, minimum, I think that is a fantastic first trip although many families would find an additional day at Magic Kingdom beneficial as well because there is so much to see and do for the whole family.
If you are a seasoned Disney World goer you will probably opt for a park hopper ticket and prioritize the things you know your family likes while avoiding the things you don’t.
Step 5
The fifth step is to pick your add-ons. This includes things like memory maker, dining plans, and travel Protection. Memory maker is a photo package where any photos your family takes with Disney’s Photo pass photographers and your on ride photos are included. You can download and print them after your vacation.
Dining plans can be a complicated decision. If there is not a promotion I don’t always suggest purchasing them unless you just want a more all inclusive fee to your vacation. They don’t usually save money unless they’re offered as a free promotion. Make sure you run the numbers and do the research before you invest.
Travel protection is an add on that protects you if anything changes in your vacation plans or if you have an emergency before your vacation.

Step 6
Book your vacation and have fun planning the extras! Getting this far gets you the basics. After you put your $200 deposit on your package now you have time to plan the fun extras! Maybe you want to add on light saber building or Bibbidi Bobbidi Boutique. Maybe you want to do a character dining with your kids favorite characters. You also may want to purchase Lightning Lanes.
All of these extras couldn’t break a vacation if they don’t happen, but they can definitely add some more magical touches. I’ll go into deeper dives later on for each fun extra for now, you’ve booked your vacation to Disney! Get excited! Start a countdown!
If you’re feeling overwhelmed and want help starting click the link below! I’d love to guide you through the process and simplify the decision making!
